

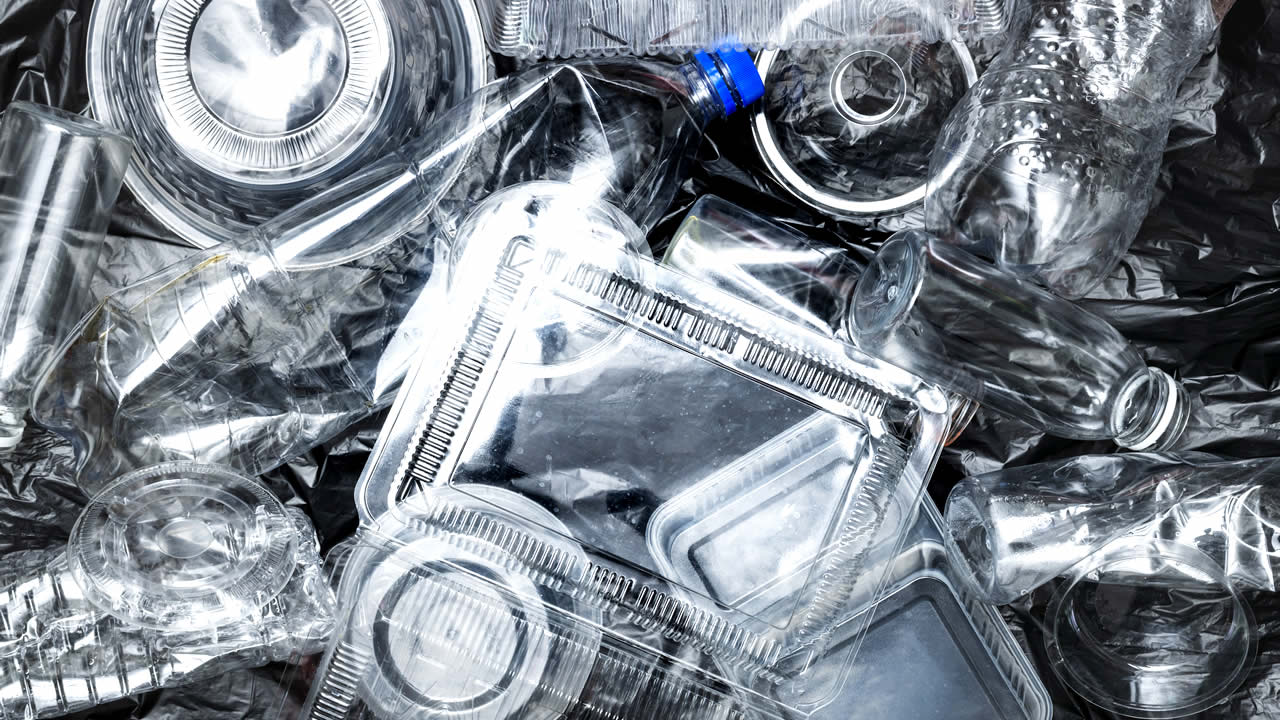
Today, I visited a plastic packaging company to see how they recycle plastic packaging scraps
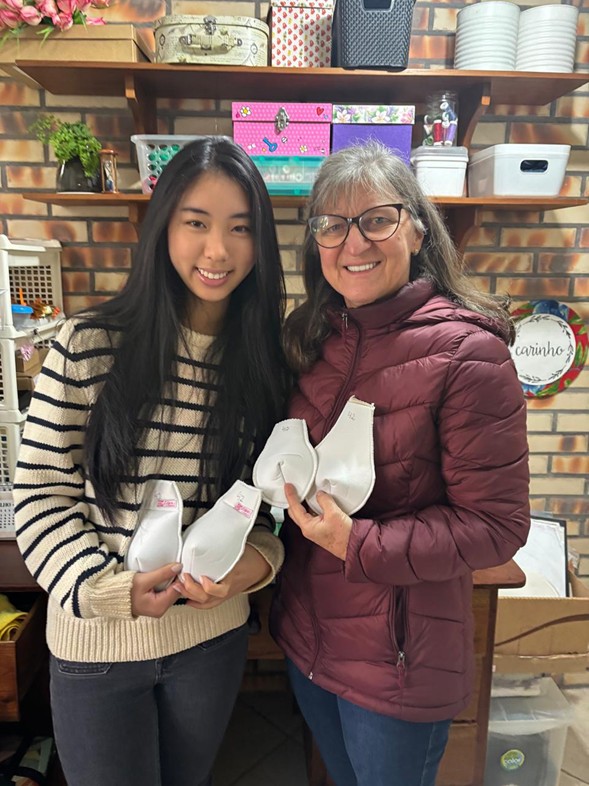
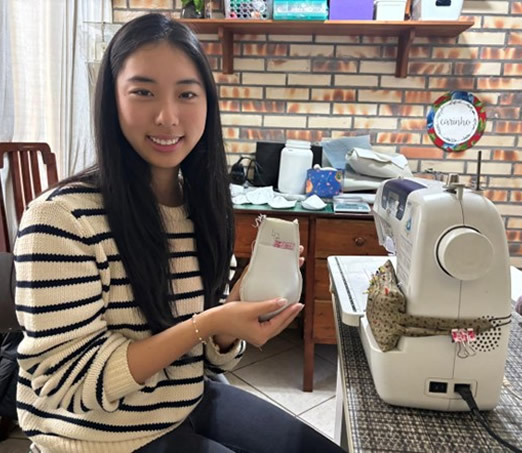
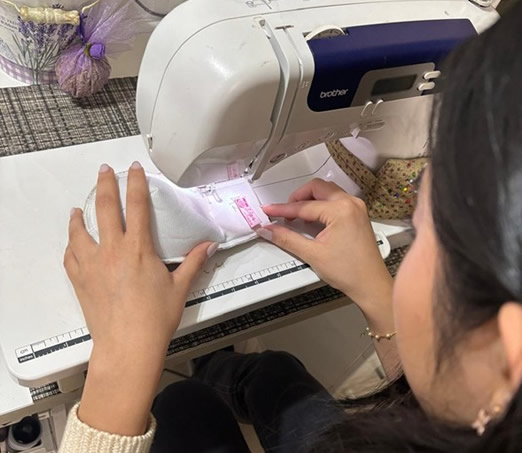
Last weekend, I spent a day volunteering with the group of Liga Feminina de Combate ao Câncer de Lajeado
Yesterday, we had the pleasure of holding a very special conversation circle with the amazing team at Plastrela – one of our valued partners!